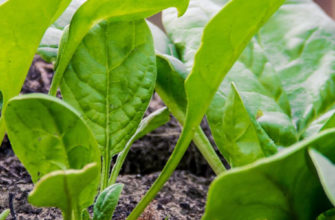
Spinach plant at home involves just a few simple steps: selecting the location, tools, and seeds; sowing and regular care. Let’s break down each step in detail.
Preparation for Sowing
Start by preparing all the necessary conditions: choose a suitable container and location in your apartment, high-quality seeds, and additional materials.
Containers
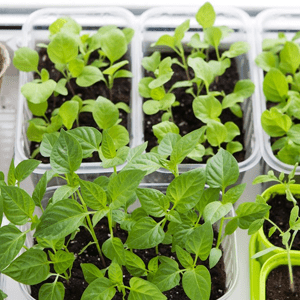
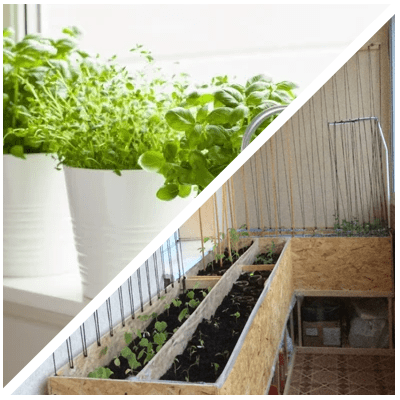
The first thing to consider when growing spinach at home is where to plant it. There are many options: transparent plastic containers, seedling trays, pots, wooden boxes, and even hydroponic systems.
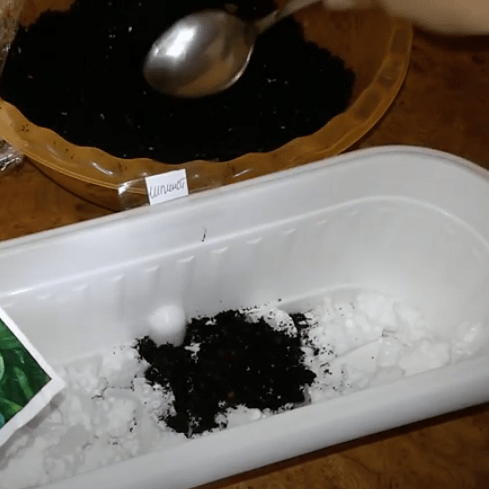
Transparent plastic containers are popular among urban gardeners. Their main advantage is accessibility and affordability. The downside is their appearance and often the lack of drainage holes, which spinach needs.
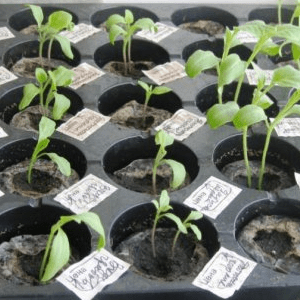
Seedling trays help allocate the right amount of space per plant since they are divided into cells. However, cheap plastic trays can harm plants, while higher-quality ones are more expensive.
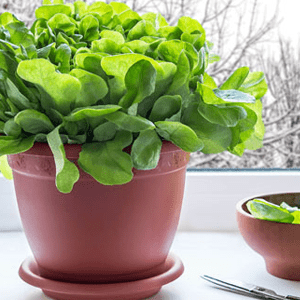
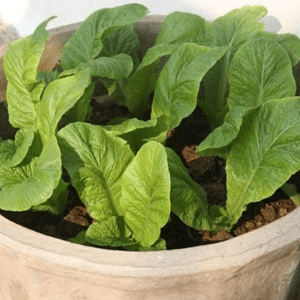
Plastic pots have similar pros and cons to containers but usually include drainage holes. Clay pots not only look attractive but also allow roots to “breathe” and release excess moisture. Their downside is cost and porousness, which can contribute to overcooling (especially if left on balconies in freezing temperatures).
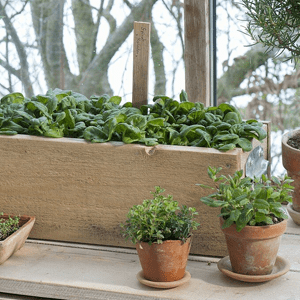
Wooden boxes and pots look great in any interior and provide comfort for spinach. Their advantage is the natural material, which is plant-safe. However, they may rot over time due to moisture and are heavier than other options.
You can also make containers yourself using food tubs, packaging, cups, or cardboard rolls.
Key container parameters for spinach:
- Depth isn’t critical — a 15–20 cm deep container is suitable.
- One plant needs about 7×7 to 10×10 cm of space;
Where to Place the Container?
Should you grow spinach on a windowsill or a balcony? Consider both your preferences and the plant’s needs. Spinach dislikes excessive heat and dryness. Its ideal temperature is around +15°C. During the cold season, a balcony or enclosed porch may be better than a warm windowsill over a radiator.
In warm months, if your indoor space is cool, move the plant inside.
Spinach loves light (a ten-hour light day is optimal), so in autumn and winter, additional lighting may be necessary. Otherwise, the plant might die.
Choosing Substrate and Seeds
In gardens, spinach prefers fertile, non-acidic soil (pH 6.5–7.0), and it needs the same in indoor conditions. Avoid using outdoor soil — it may contain pests, disease-causing organisms, and unpredictable pH levels. The best option is store-bought substrate (Universal, Fertile Soil, Coconut Mix, etc.).
You can also make your own mix using 1 part vermicompost and 2 parts coconut coir. If you don’t have coir, substitute with perlite (2 tsp per 100 cm³ of compost). Also prepare drainage: expanded clay, foam, or premixed drainage materials work well.
As for spinach varieties — early-maturing types are best. Suitable varieties for indoor growing include Boa, Strawberry, Matador, and Monores.
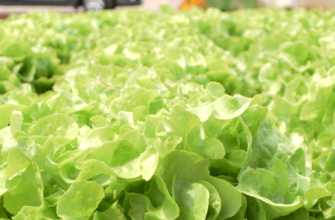
You can also grow spinach microgreens. While you won’t get full leaves, the process is simpler, and the sprouts retain high nutritional value.
Other Helpful Items
Для комфортной посадки и ухода дома, дополнительно лучше иметь под рукой:
- Spray bottle or watering can;
- Trowel;
- Napkins and container for seed germination;
- Plastic wrap, lid, or glass for creating a greenhouse effect;
- Lamp (for extra lighting);
- Light fabric or mesh for shading in spring/summer;
- Scissors for harvesting.
Growing Spinach Indoors from Seed
When and How to Sow?
You can harvest spinach almost year-round on a windowsill. Sowing time depends on your preferences. For less hassle with lighting and temperature, sow in March–April or August–September.
Before sowing, pre-sprouting seeds improves germination and shortens harvest time. Place seeds on a napkin or in a shallow dish, spray generously with warm water, or soak for 1–2 hours.
Add a layer of drainage to your container and top it with substrate. Make shallow grooves or holes (1.5–2 cm deep) and space seeds 2–3 cm apart.
Lightly cover seeds with soil and water thoroughly.
You may sow seeds densely in a small container, but once 3 true leaves appear, transplant each seedling into individual pots.
After watering, cover the container with wrap or a lid to create a mini-greenhouse and leave until germination (5–7 days). Occasionally open the lid to ventilate and prevent soil from drying. Once sprouts appear, uncover the container permanently.
Caring for Spinach Seedlings
Spinach care indoors is simple: ensure timely watering and maintain optimal temperature.
In winter, heating devices can dry the air, so spray the leaves in the morning and evening. You can also place water-filled dishes near the pots to humidify the air naturally.
In warmer months, avoid direct sunlight on the leaves — shade them with fabric or mesh. Without shading, spinach may bolt prematurely.
Fertilizers are usually unnecessary. But if you used garden soil and suspect poor nutrient content, you can apply compost, bird droppings, humate solutions, or balanced flower fertilizers.
What’s Next?

Harvest spinach once it has 6–7 mature leaves or reaches about 7–10 cm in height. Keep in mind that varieties differ in height and leaf size.
Once ready, cut the leaves, rinse under running water, and drain. Use fresh in salads or cooked dishes.
To create a continuous harvest, sow new seeds periodically in the same container. Enrich the soil regularly to maintain its fertility.
If you have found a spelling error, please, notify us by selecting that text and pressing Ctrl+Enter.