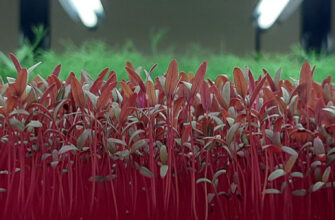
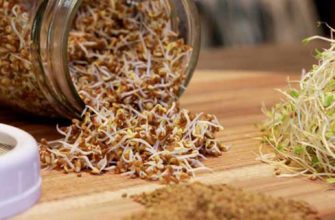
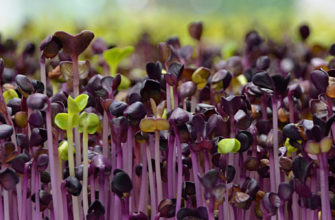
Growing microgreens is quick and easy. First, you need to take the seeds, sprinkle them on the soil, and water twice a day. It sounds simple, but many beginners face a variety of problems.
In this article, we will review the most common issues encountered when growing microgreens. This useful information will help you quickly solve any problems with microgreens.
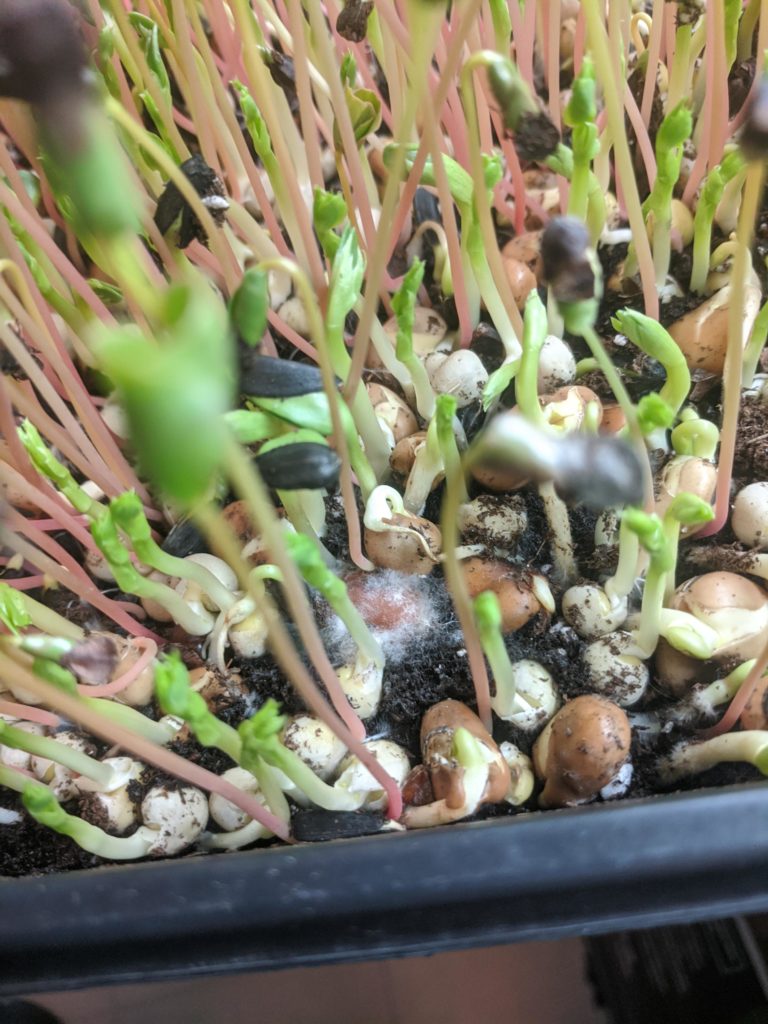
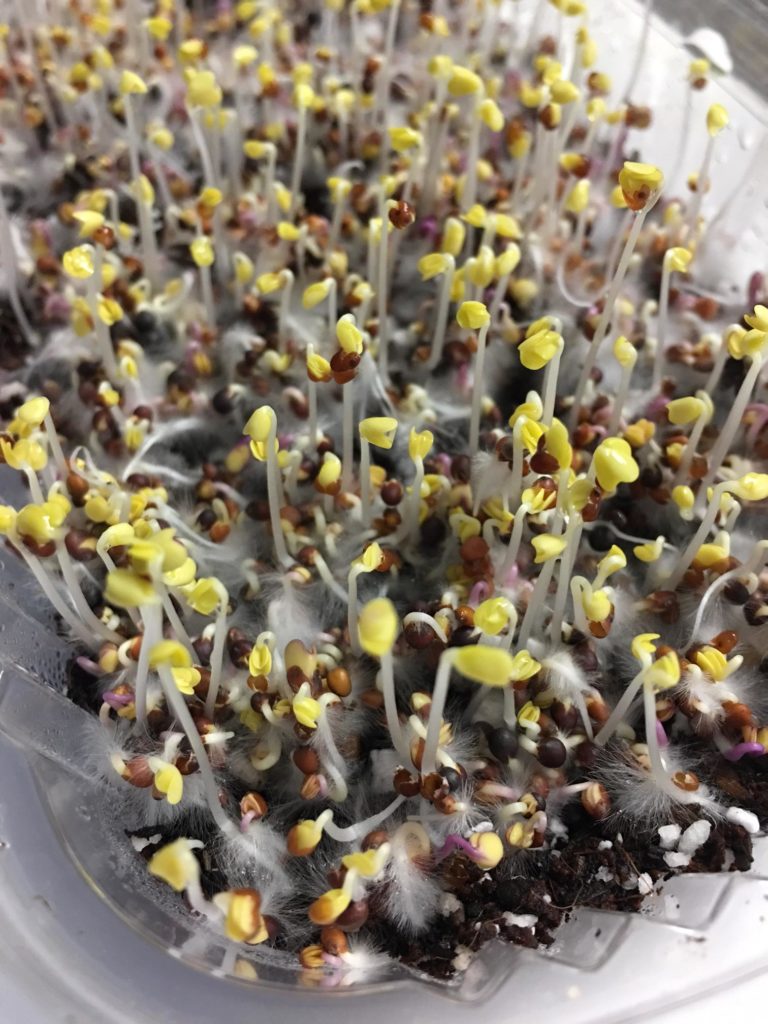
Mold or fungus
The most common problem when growing microgreens. It happens so often that everyone who has sown seeds for microgreens has encountered it at some point.
Usually, mold formation on young sprouts is largely related to many factors, including wet soil, high indoor humidity, and poor drainage. Combined with poor ventilation and overcrowded sowing, mold quickly takes over the crops.
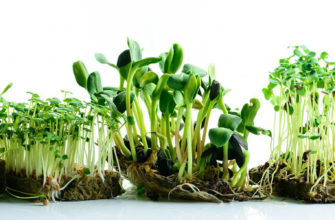
Root hairs are often mistaken for mold. The first thing to understand is that there is a difference between mold and root hairs. Every plant has tiny hairs that are part of the root. They protrude from the lowest part of the plant and help increase the surface area, allowing your microgreens to absorb all the water they need.
At first glance, these tiny hairs may look like mold, but there are several key differences that show root hairs are not mold on microgreens:
- Mold looks like a thin web, while root hairs are fluffier.
- Mold becomes slimy when touched, but root hairs do not.
Root hairs are only located around the roots, whereas mold will spread to other parts of the plant.
How does mold affect microgreens?
If mold appears on your microgreens, it will likely continue to grow, making them unsafe to eat. You will need to wash the microgreens thoroughly and then cook them at a high temperature to eliminate the mold. Pathogens can remain in the growing medium and affect the next batch of plants!
How to prevent mold on microgreens:
- Ventilation. Mold dislikes air movement because it prevents mold spores from settling and growing. That’s why good airflow is crucial at every stage of growing microgreens. Since microgreens are prone to mold due to minimal air circulation during germination, you can prevent mold by adding ventilation holes on the sides of the tray lid and placing a fan nearby. Run the fan for 15–30 minutes every hour to keep the air fresh around the plants and stop mold from developing.
- Light and Temperature. Mold hates bright light. Once seeds sprout, move the microgreens to a well-lit area but avoid direct sunlight. If natural light isn’t available, use a grow lamp or a standard fluorescent light to provide sufficient illumination.
- Cleaning trays and other equipment. Before you start growing or even soaking seeds, thoroughly clean all your equipment. Spray trays with a disinfecting solution made from 1.5 liters of water, 50 ml hydrogen peroxide, and 50 ml white vinegar. Also, disinfect seeds during soaking by placing them in water mixed with one teaspoon of hydrogen peroxide for 2–3 hours. This kills any infections present on the seeds and helps prevent mold growth.
- Humidity Control. Mold loves moisture, which it needs to survive. But plants also require water to grow, so maintaining the right moisture balance is essential. If indoor humidity is high, reduce it with a dehumidifier or moisture absorber.
- Avoid Overcrowding. Too dense seed sowing traps moisture and restricts airflow, creating perfect conditions for mold growth. Spread seeds out so each has some space around it, allowing your plants to grow healthier and mold-free.
How to get rid of mold on microgreens
Proper preventive measures can help avoid mold on microgreens. But if these steps fail and you find mold on your sprouts, you can try the following actions:
- Hydrogen peroxide with water: Take a spray bottle with a mixture of water, white vinegar, and hydrogen peroxide prepared as described above, and spray it onto your plants.
Important! Monitor the concentration of peroxide and vinegar in the mixture carefully, because excessive amounts can cause burns on the microgreen leaves.
- Sunlight: Sunlight is beneficial for plants and disliked by mold. Place your plants under direct sunlight and let the sprouts dry a bit. The sun will help kill the mold.
- Watering: To prevent mold, it’s recommended to avoid surface watering. Instead, use trays with water reservoirs underneath. This method helps eliminate mold problems effectively.
- Remove infected plants: This is the last resort in fighting mold if the above methods don’t work. Also, before reusing trays where mold appeared, make sure to disinfect them thoroughly.
Microgreens Lodging
Sometimes microgreens tilt to one side, fall over, wilt, and lose vitality. This most often happens in the middle of the tray. The main cause is lack of water.
You can solve this problem by increasing the amount of watering, because as your microgreens grow, they need more water.
In general, you should monitor the soil to keep it moist but not soggy, as excess moisture can cause seed mold. Also, the tray/container you use should have holes for draining excess water.
Sprouts also fall over if they grow too tall. They become thin and flexible, so they easily fall. Lighting plays a big role here. With insufficient light, microgreens will stretch a lot. To prevent this, increase the time the microgreens spend in the sun or under a lamp.
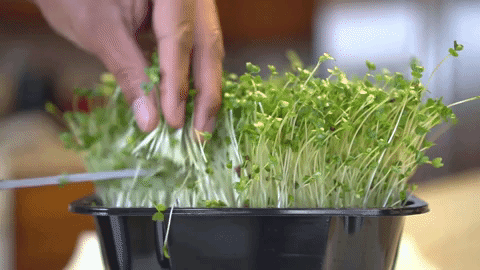
Watering from a hose or watering can cause the sprouts to fall or break. It’s better to water plants by spraying water over them with a spray bottle or use a hydroponic system with a sprouter or stacked trays.
How to make a sprouter yourself can be read in the article:
Besides what was said above, too high a seeding density in the tray can lead to late sprouting, unstable and slow growth, mold appearance, stretching, and discoloration of sprouts.
This happens because the seeds have to compete for limited resources: water, nutrients, light, and space.
The optimal seeding rate depends on the seed size. For a standard small tray, about 15 g of small seeds or 25-30 g of large seeds is needed.
Some producers believe that too low a seeding density will cause sprouts to fall because they won’t support each other. This is not true. With enough nutrients, microgreens can grow tall and strong without falling, even if there is only one sprout in the whole container.
Uneven Growth of Microgreens
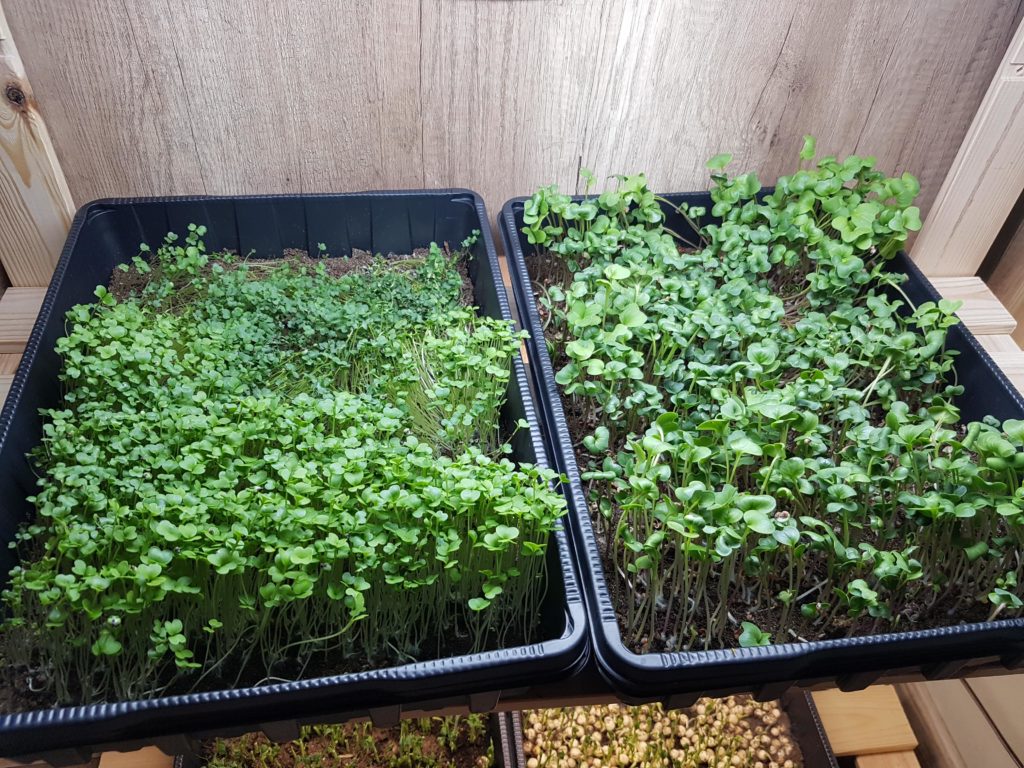
When growing microgreens, you may sometimes notice that the sprouts on one side of the tray are taller, while on the other side they are shorter. This usually happens because one side receives more light, especially in a dark room. Seedlings naturally stretch toward the light due to their inherent need. This applies not only to sunlight but also to any sources of artificial light.
Seed clumping can also cause uneven microgreens growth. This can be a big problem when working with mucilaginous seeds, which form a sticky gel-like coating when wet. In particular, seeds like chia, flax, and basil exhibit this behavior.
Yellowing of Sprouts
Yellow microgreens are completely normal. This happens due to a lack of chlorophyll when there is no light. The sprouts will turn green as soon as they are exposed to light.
Popcorn microgreens (corn) are harvested while still yellow. This is because once the sprouts turn green, they develop a bitter and grassy taste.
Contamination During Harvest
There is no greater joy than harvesting microgreens. But even here, problems can arise. When sowing in soil, the sprouts can get heavily contaminated.
To avoid this, after evenly spreading the seeds over the soil layer, first cover them with a layer of loose soil, then a layer of compacted soil, and gently roll it down.
If you follow the microgreens growing technology and monitor all parameters carefully, you won’t face these problems and will get a high-quality harvest of vitamin-rich sprouts.
Share your microgreens growing experience and ask your questions in the comments.
If you have found a spelling error, please, notify us by selecting that text and pressing Ctrl+Enter.
Why does amaranth grow very poorly?
Good day! It is advisable to soak amaranth seeds in water for 4-6 hours before sowing. The first shoots will appear no earlier than in 2-3 days. Amaranth is quite sensitive to light and grows quite slowly. The darkening time after sowing should be 4-5 days for the plant to grow taller before exposing it to light.
Why doesn’t the watercress microgreens come up? There is a characteristic mustard smell from the seeds, 4 days have passed. The microgreens of chia germinated after 2 days. I can’t figure out what the problem is (I grow them in trays, on paper towels, and spray them with water with hydrogen peroxide or plain water.
We wait up to 10 days
Maria, please tell me, the arugula’s stem is thinning and drying out right in the middle, what could it be?