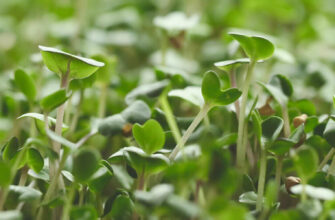
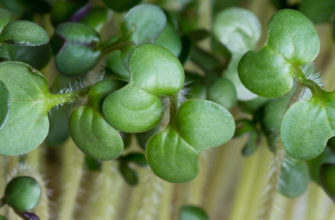
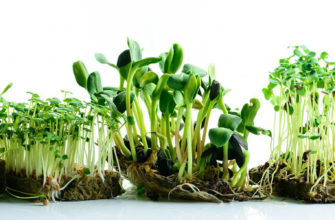
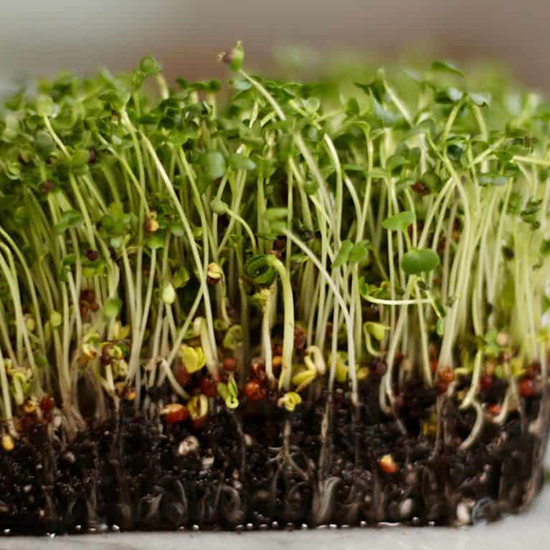
Growing Microgreens Without Soil Is Becoming Increasingly Popular. I think everyone has already seen beautiful photos of young greens growing on thin fibrous pads. These are special mats made from flax, jute, hemp, or coconut fibers.
Such mats keep the sprouts clean, but that doesn’t mean peat shouldn’t be used. Peat is convenient for those who tend to forget to water their sprouts, as this substrate retains moisture longer. Also, some crops will yield better harvests on it.Let’s consider the main substrates for growing microgreens to achieve a high-quality and healthy yield.
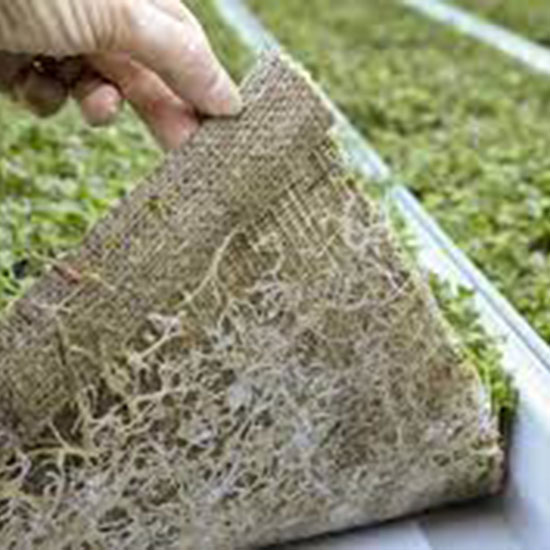
Irrigation Mats
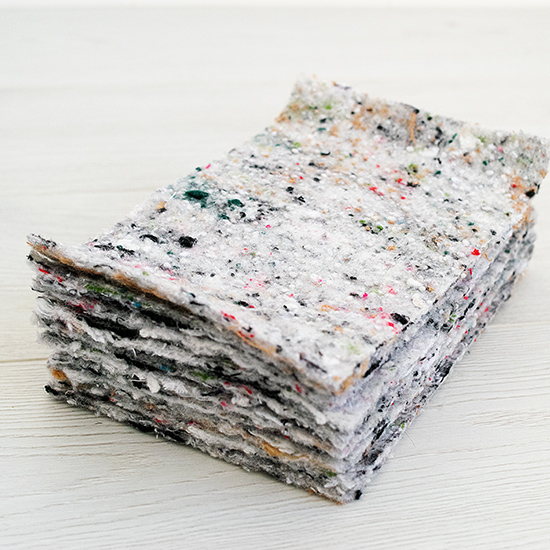
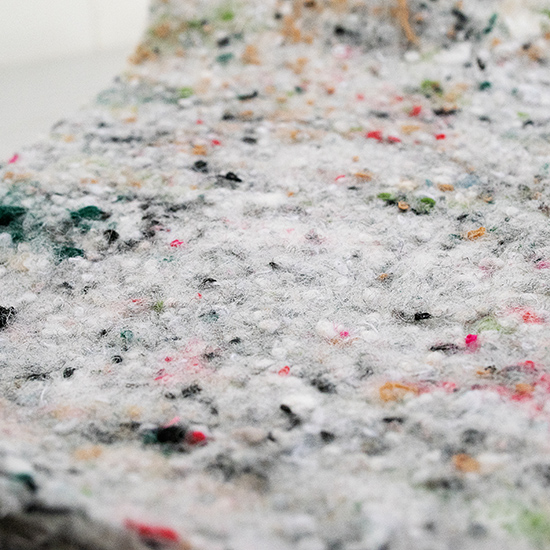
Capillary or irrigation mats are fabrics made by stitching jute, polypropylene, acrylic, polyester, bast, and wool fibers through a polyethylene base. These mats absorb moisture well (about 4.5 liters per square meter) and distribute it evenly across the entire surface, ensuring that all plants receive water. The moisture reaches the roots uniformly, preventing both overwatering and underwatering.
These mats can be used as a base for growing microgreens or as a lining under seedling trays and pots. They are coated with a special substance that prevents mold growth on the seedlings.
One advantage of mats over regular mats (pads) is that they can be easily cut with scissors without shedding fibers. Therefore, it’s cost-effective to buy them by the meter and cut them to the desired size.
Irrigation mats are especially convenient for growing microgreens with children because sowing and care involve less mess, and the young roots growing on the surface are clearly visible.
How to Use Irrigation Mats
Place the mat in a permanent location and pour water onto it. Once the mat darkens evenly, you can sow seeds on it. Later, you can add water from the edges, and it will evenly moisten the entire surface.
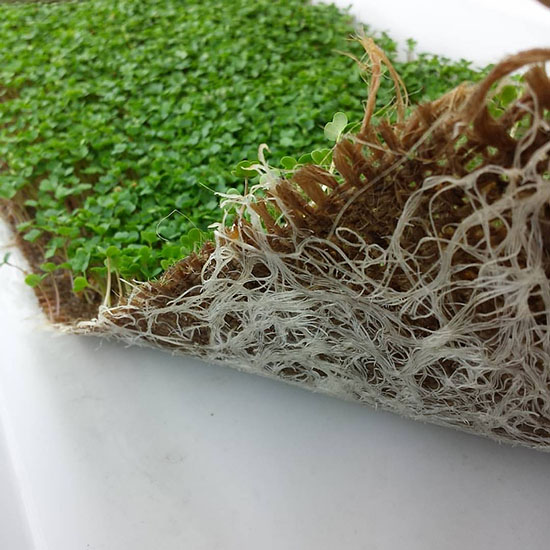
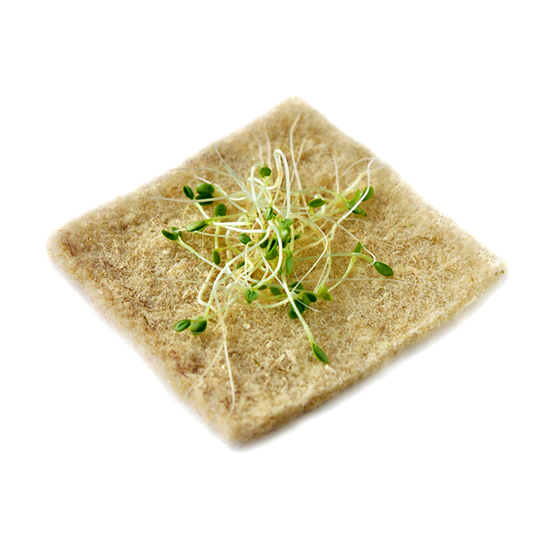
Linen Mats
This is a popular substrate for microgreens because it keeps young sprouts clean. The mats are made of 100% natural, eco-friendly material with no chemical additives. This environment allows plants to grow without diseases.
An advantage for producers is that microgreens can be sold together with the mats, which extends the shelf life of the finished product.
How to Use Linen Mats for Growing Microgreens
Place the mats in the container where you plan to grow the plants and moisten them with water. After that, remove excess water from the container. It is important that the mat is wet but not waterlogged. Then you can sow pre-prepared seeds and grow microgreens as usual.
Coconut Substrate

Coconut peat is compressed coconut fiber used as a growing medium for microgreens, vegetable seedlings, as well as garden and houseplants. In this natural substrate, roots develop actively, and plants are less susceptible to infections.
The acidity of coconut fiber is neutral, which is optimal for most plants. Producers have found that coconut fiber increases yields by almost 25–35% compared to burlap, as it contains phosphorus, potassium, calcium, magnesium, and other nutrients.
Coconut substrate retains moisture for a long time and, even after drying out completely, rehydrates well when watered. After use, it can be mixed with peat for growing flowers or trees.
One downside is that some types of coconut substrate can still stain microgreens, similar to regular peat.
Instructions for Using Coconut Substrate:
Coconut peat is available in loose and compressed forms. In both cases, it should be soaked in water according to the instructions on the package and left to swell for 5–10 minutes. Then mix well and use for growing microgreens.
Peat
Peat moss consists of decomposed organic matter harvested from peat bogs. It is mainly used for its high water retention capacity. Peat is usually mixed with perlite to improve water absorption.
Although soil substrates can sometimes contaminate microgreens, peat provides better yields and a higher-quality product. For growing microgreens, a universal peat for seedling cultivation is used. It has the ability to create good air space and contains beneficial elements needed to energize the growth of young seedlings.
Peat is suitable for all types of microgreens, but it shows the best results with plants that have bright stems, such as amaranth and beetroot. For microgreens, it is important to select sterile substrates that do not contain fertilizers.
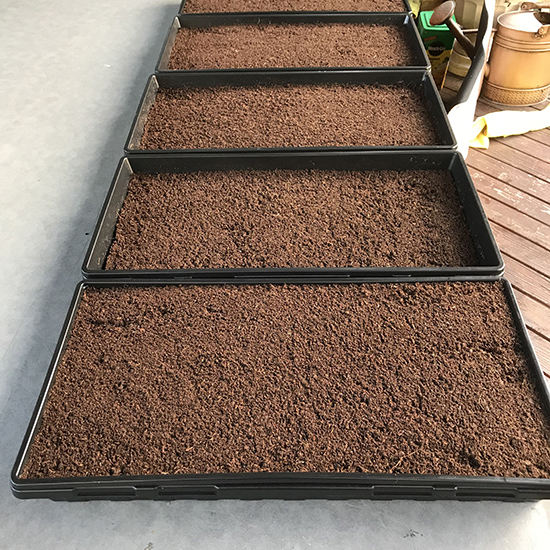
How to Use Peat for Growing Microgreens
Pre-soak the peat in water and mix well to ensure even moisture distribution. Then spread it in trays where the microgreens will grow, creating a 2.5 cm layer. For growing small batches of greens, peat can be placed directly into containers and moistened using a spray bottle.
Jute Burlap
Burlap is an eco-friendly natural substrate for growing microgreens. However, not all burlap is suitable for this purpose, especially if it is recycled material. Moreover, it may take some time to learn how to successfully grow plants on this substrate.
Using burlap helps eliminate dirt, and because it is a soilless substrate, it keeps the plants clean and makes harvesting easier.
It is important to be sure that the burlap has not come into contact with harmful substances such as pesticides. Contaminants can affect not only plant growth but also pose health risks to you.
Unfortunately, reusing burlap for growing microgreens can lead to mold and fungal development. Therefore, use it only once. Burlap decomposes well, so it can be added to compost.
Crops with large seeds (peas, wheat) grow very well on burlap. It is an economical substrate, but unfortunately, it yields unstable harvests. High yields can only be achieved under ideal moisture and lighting conditions.
For more information on what crops can be grown as microgreens, read the article: “Microgreens: Which Crops to Grow, Their Benefits and Risks”
How to Use Burlap for Growing Microgreens
You can buy burlap at stores that sell gardening supplies. Cut the burlap into pieces and place them in trays. Then moisten the substrate with a spray bottle and sow the seeds. It is important to avoid standing water in the tray.
Hemp Mats
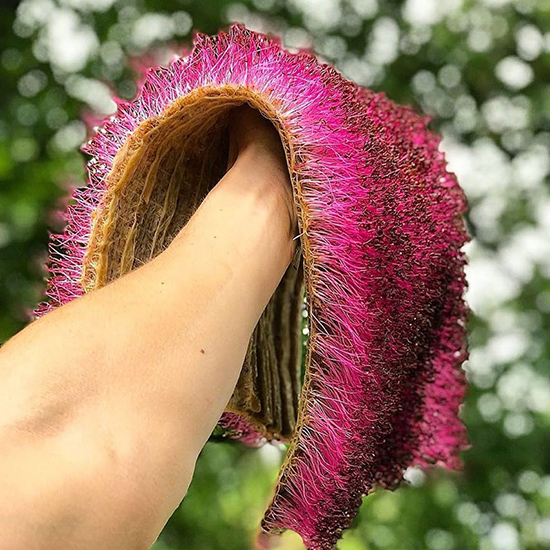
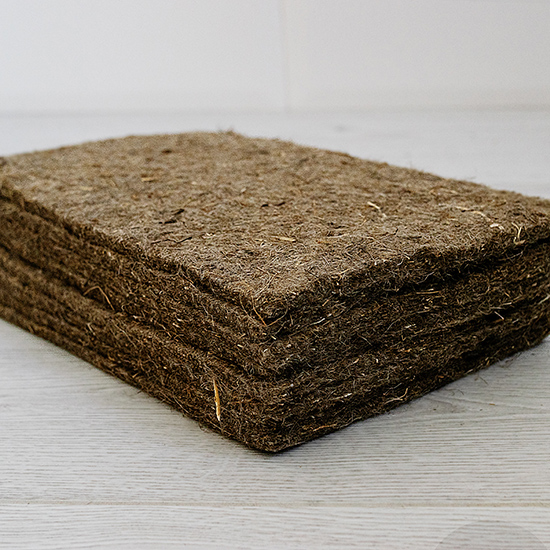
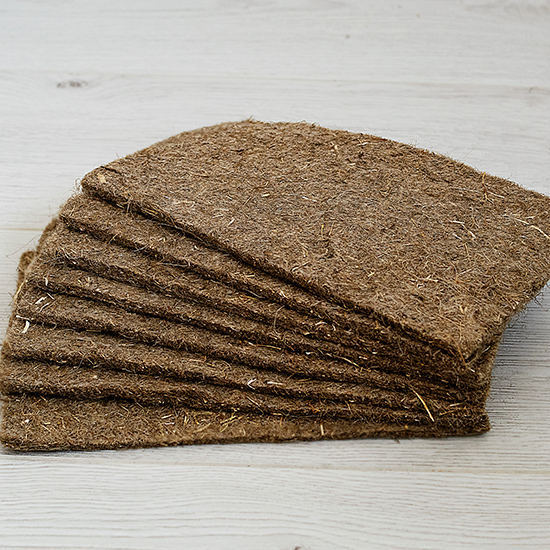
Another organic substrate for growing microgreens that retains water very well. The main advantages of hemp mats are that they are made from natural materials, have good density, are resistant to mold growth, and are very convenient for selling microgreens together with the substrate.
All varieties of microgreens grow very well on hemp. Especially successful are plants with small seeds such as alfalfa, radish, broccoli, watercress, kohlrabi, chia, and others.
Hemp mats can be reused, but in this case, there is a risk of seedling infection by fungi. Therefore, to obtain a clean and healthy harvest of beneficial shoots, it is recommended to use a new mat each time.
Instructions for Using Hemp Mats:
Place the mat in a container with water for 1-2 minutes. Then remove it and gently squeeze out excess moisture. Evenly distribute the seeds on the surface, moisten them with a spray bottle, and continue growing microgreens using your usual method.
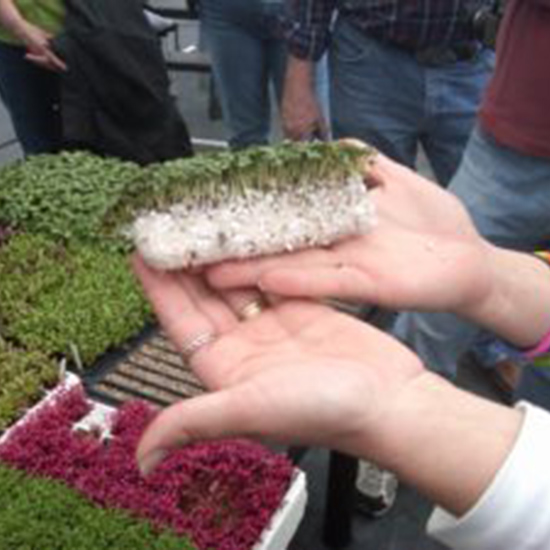
Mineral Wool (Rock Wool, Agro-Wool)
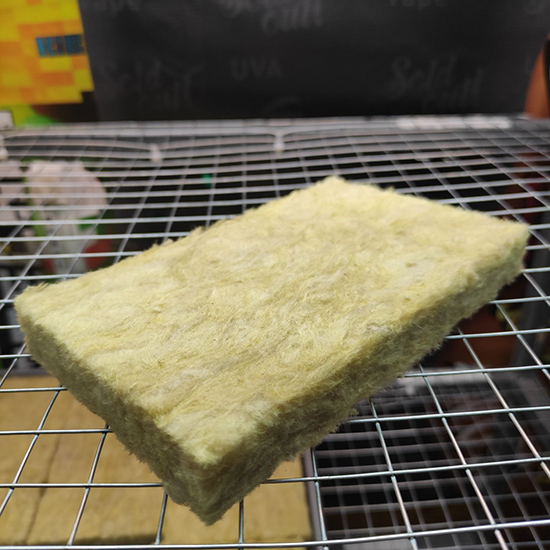
Rock wool is a material composed of substances that help it remain porous (plant fibers, limestone, basalt, and various fillers). In horticulture, a special agro-wool is used, which is sold in specialized stores. Construction mineral wool is not suitable for this purpose because it contains substances harmful to plants and humans.
Originally, rock wool was created for growing plants hydroponically in greenhouses with intensive technologies. However, due to its properties, it is successfully used for microgreen production.
Mineral wool has a neutral pH and is free from pathogens, which allows growing healthy plants. It is ideal for cultivating long-growing plants such as basil, spinach, sorrel, dill, lettuce, coriander, etc. Also, because agro-wool is made from fine fibers, plants easily send their delicate roots into it and develop freely.
Rock wool for plant growing is available as plugs, cubes, trays, blocks, and mats, but only mats are suitable for sprouting microgreens. Some manufacturers have also learned to cut blocks into mats of the desired thickness.
The drawbacks include uneven moisture distribution in agro-wool, which can leave dry spots with seeds in the container. The lower layers are always more moist, while the upper ones tend to be dry. Mineral wool is also significantly more expensive compared to other substrates, but it can be reused.
How to Use Agro-Wool for Growing Microgreens
Before use, immerse the mat in water or pour water over it for 2–5 minutes. Then gently squeeze out the excess moisture and place it in the container for growing microgreens. After that, use the standard growing technique. It is important to ensure that water does not stagnate in the tray.
Hydrogel
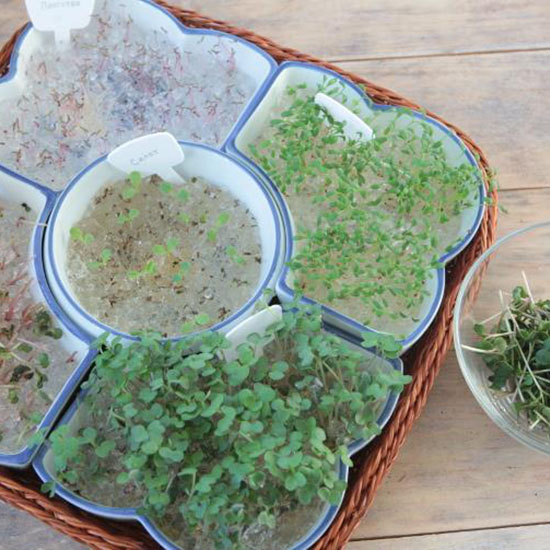
Aquasoil (hydrogel) is an artificially created polymer-based material that comes in powder, granules, or beads. After absorbing moisture, it becomes jelly-like and provides a good medium for plant growth. Hydrogel is an unpopular substrate, but it is actually excellent not only for gardening and floriculture but also for home microgreen cultivation.
Hydrogel is very convenient and practical since it holds enough moisture to avoid watering the sprouts for up to two weeks. It also has a neutral pH suitable for most crops, contains no harmful substances or pathogens. Another advantage of aquasoil is that it can be dried and reused. The downside of hydrogel is that seeds may take longer to germinate in it.
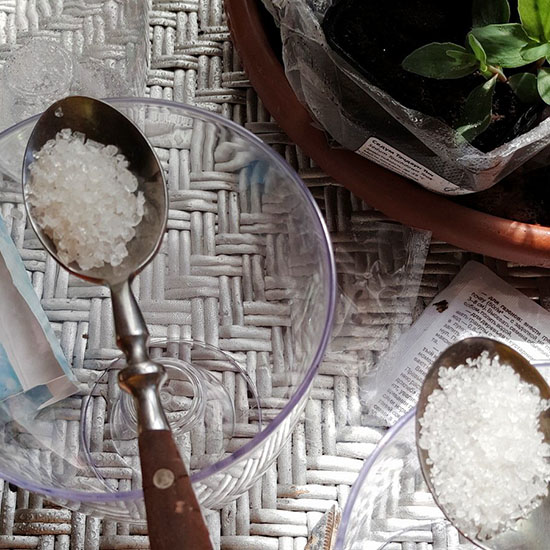
How to Grow Microgreens in Hydrogel
Take hydrogel, seeds, and a container for sowing. Pour the hydrogel granules into a large container, add water, and let it swell for 8 hours at room temperature. Then drain the hydrogel using a colander to remove excess moisture and spread the resulting mass in a 2–3 cm layer in the container where you will grow the microgreens. Next, sow the seeds evenly on the surface without pre-soaking them, since the hydrogel contains sufficient moisture for germination.
Perlite
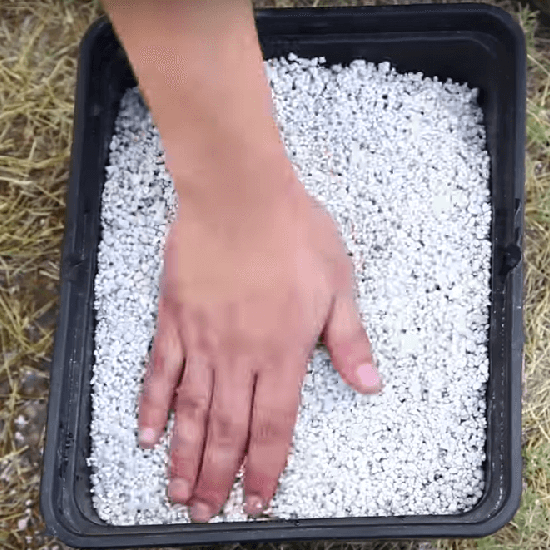
Perlite is the so-called “volcanic popcorn,” formed when volcanic rock is heated and expands. Perlite is used as an additive to substrates to improve water retention because it facilitates drainage and oxygen access. All quality soil mixes for growing microgreens contain at least 10% perlite.
Proper root aeration is crucial for the healthy growth of microgreens. Although peat itself provides good aeration, adding perlite ensures that the water level in the growing container never exceeds what the plants need.
Advantages of using perlite include its ability to absorb 2 to 6 times its weight in water, sterility, neutral pH, and reusability.
However, there are some drawbacks: low water retention capacity; presence of irritating fine dust; lightweight nature (granules may float during watering, making it difficult for roots to anchor); and it does not provide nutrients to microgreens.
Therefore, it can be concluded that for growing microgreens, perlite is best used as an additive to peat as a water-retaining agent.
Growing Microgreens Without Substrate
Most plants only need water and a rough surface to cling their roots to in order to sprout. This method is good because it saves money on buying substrate and you get clean greens without soil residues and such.
Ways to grow microgreens cheaply without extra costs can be found in the article: “How to Grow Microgreens Cheaply at Home?”
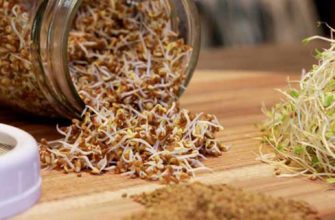
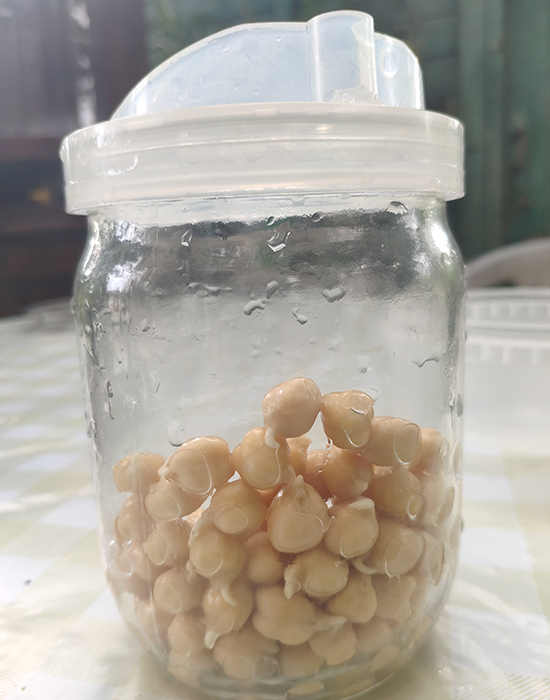
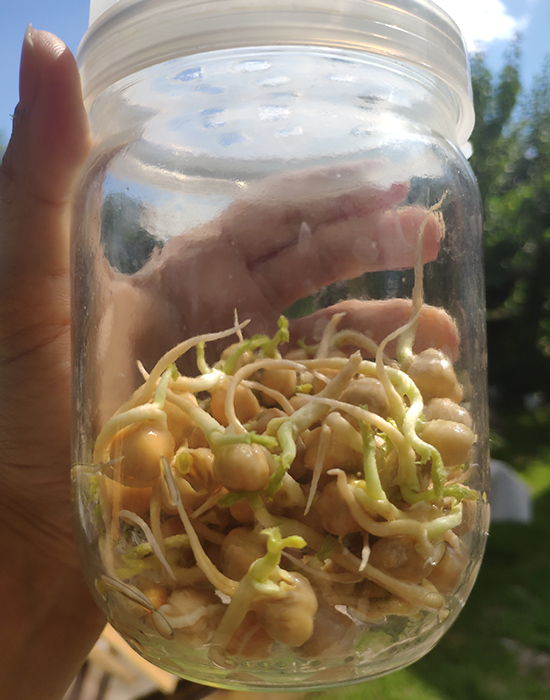
Microgreens without substrate from large seeds can be grown by putting them in any container with sides or a jar with a lid with holes, filled with water up to 2/3. Then rinse the seeds constantly and make sure they don’t dry out. When sprouts appear, remove the cover and monitor humidity.
For smaller seeds, it is recommended to place a napkin or a piece of agro-fiber at the bottom. If roots have nothing to cling to, the plants will fall. After that, follow the same steps described above. The main thing is to ensure seedlings do not dry out, as they will die immediately.
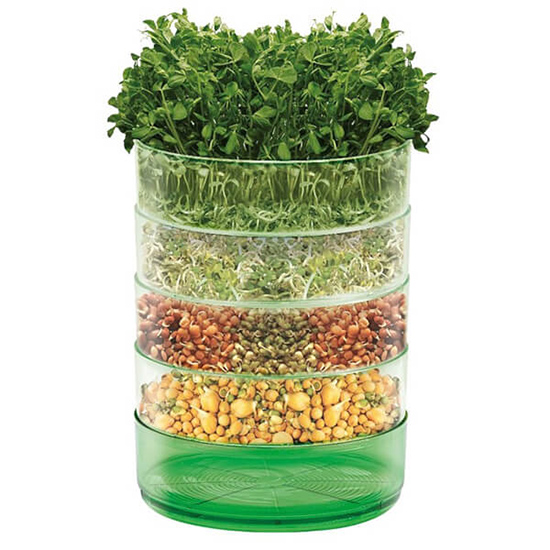
Nowadays, automatic sprouters are available on the market. They regulate temperature and humidity inside the container and have multiple tiers, allowing you to grow 2–3 types of greens simultaneously.
All you need to grow microgreens without substrate is to pour seeds into the container and add water. The only downside of automatic sprouters is their price. But if you want to constantly have healthy sprouts in your diet, it’s a good investment in your health.
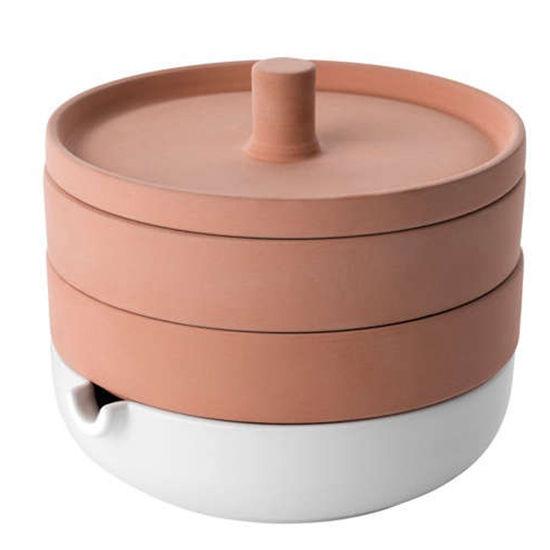
Besides automatic sprouters, there are also clay sprouters. Since they are made from natural materials, they contain no harmful substances. Clay lets air through, absorbs moisture well, and blocks light, which is ideal for growing sprouts and microgreens.
Clay sprouters also have several tiers with containers that have small holes. Seeds are sown in these containers, and watering is done from the “top tier” so that water flows down to the lower tiers and collects in the tray. This way, all seeds are evenly moistened without excess water accumulation.
As you can see, microgreens can be grown on a wide variety of substrates. It all depends on what type you plan to sow, for what purpose (personal use or sale), and how much you can invest. In any case, the best substrate for microgreens should be chosen by the city farmer through trial and error.
Share in the comments what substrates you’ve used for growing microgreens, what problems you faced, and what microgreen growing nuances you’d like to learn about from the Blog.
If you have found a spelling error, please, notify us by selecting that text and pressing Ctrl+Enter.