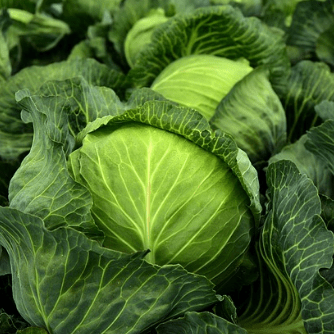
The technology for growing early cabbage requires adherence to numerous important rules, deviations from which can result in a subpar harvest or plant diseases. Many are attracted to growing cabbage in early spring due to several advantages: the potential for a high yield, good income, and a substantial dose of early vitamins after a long winter.
This article discusses key considerations, how to achieve the best possible harvest, and how to collect it.
Selection of Hybrids and Preparation for Sowing
The first step in growing cabbage is selecting the appropriate variety and hybrid. It’s crucial to choose stress- and cold-resistant options, as this significantly simplifies cultivation and care. We’ve previously discussed the characteristics of early hybrids and which ones are suitable for spring sowing in this article.
The optimal temperature for germination is around +20 to 22°C. For balanced seedling development, maintain a temperature of +14 to 18°C. Since cabbage is cold-tolerant, seeds can germinate at +5 to 6°C, but for more uniform emergence, it’s better to stick to optimal conditions. Exceeding these norms, such as temperatures of +25 to 30°C, will slow growth and development, while +35°C or higher will likely kill seedlings or prevent them from reaching marketable quality.
Cabbage also loves light, with an optimal daylight period of 17–18 hours. Since ensuring this in early spring can be challenging, supplemental lighting is recommended. Insufficient light causes heads to elongate and develop slowly.
Ensure adequate soil moisture (75–80%) and air humidity (60–80% during germination and early head formation, 75–90% during active head development). The most intensive watering is needed during head formation, when moisture demand is highest.
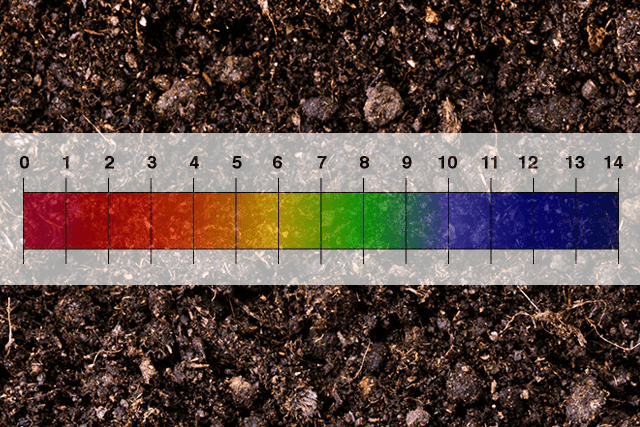
Another critical parameter is soil pH, with an optimal range of 6.0–6.5. For seedlings, pre-prepared substrates with the ideal pH level can be used. The planting site should be loosened, moistened, disinfected, and cleared of weeds in advance. The best locations for early cabbage are areas previously used for cucumbers, nightshades, peas, or perennial grasses. Sowing in a greenhouse where other cruciferous crops were grown is strongly discouraged, as pests or diseases may remain in the soil.
Growing Early Cabbage Seedlings and Transplanting to Soil
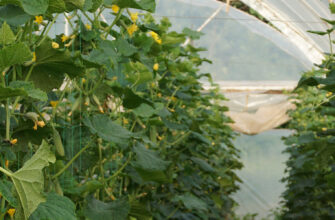
While it’s possible to sow early cabbage seeds directly into greenhouse soil, this risks wasting time and money due to poorly prepared soil and numerous stress factors, which may result in poor or no germination. The seedling method is preferable, as it reduces the time to harvest and protects against seedling loss.
Step 1: Cassette Selection and Sowing
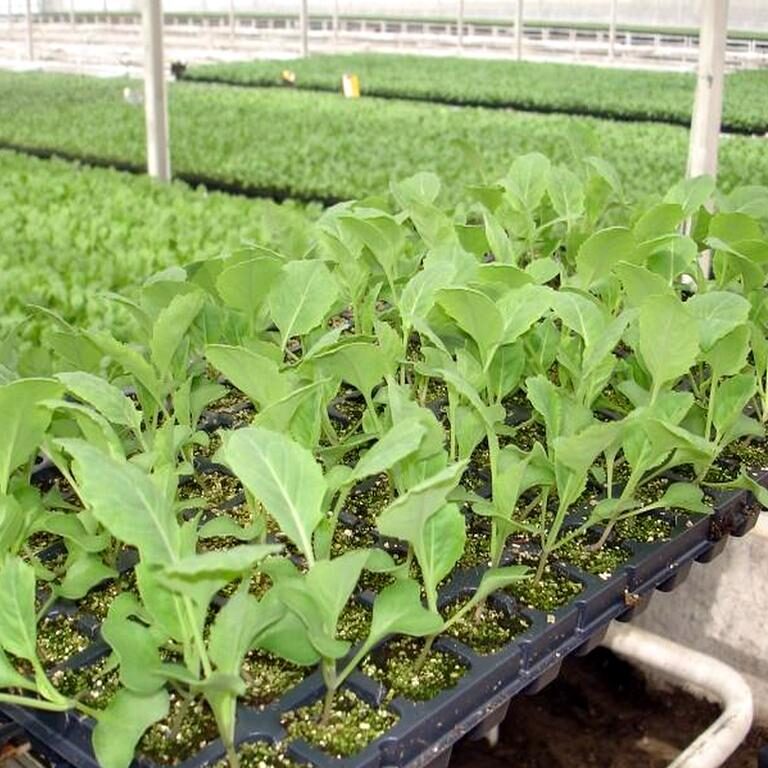
Depending on your growing conditions, choose cassettes with small or large cells for early cabbage. In small cells, under high temperatures, seedlings should not exceed 20 days old. In larger cells (400–500 ml), under lower temperatures, seedlings can be grown for up to 45 days. The age of seedlings affects the speed of head formation after transplanting (older seedlings form heads faster). Sow seeds in cassette cells filled with moistened substrate, at a depth of about 1.5 cm, and keep in a warm place at +22 to 23°C.
Note that many farmers use acidic fertilizers, so they select a slightly alkaline substrate with a pH of 6.5–7.0. If acidic fertilizers are not used, opt for a substrate with a pH of 5.5–6.5.
Step 2: Seedling Care
Care involves fertilizing seedlings and maintaining optimal temperatures. After the first sprouts appear (6–7 days), lower the temperature to +8 to 10°C at night and +16 to 18°C during the day. Care is straightforward: water seedlings with non-cold water as the substrate dries out and apply fertilizers:
- After the first pair of true leaves, apply foliar feeding.
- On days 6–8, apply calcium nitrate (0.3%) and a growth regulator (5%) to the roots.
- Later, use complex fertilizers like Master (20-20-20, 3-11-35) for root feeding, Kozir fertilizer (0.1%) for foliar feeding, and a root formation stimulator (0.5%) before transplanting.
Combine fertilization with treatments against diseases. It’s also critical to treat with insecticides and fungicides before transplanting. Pay attention to proper watering and ventilation to avoid diseases like black leg, which can result from excessive moisture or cold water. Avoid dragging cassettes across surfaces during transport, as young roots protruding through the holes can be damaged.
Step 3: Transplanting Seedlings
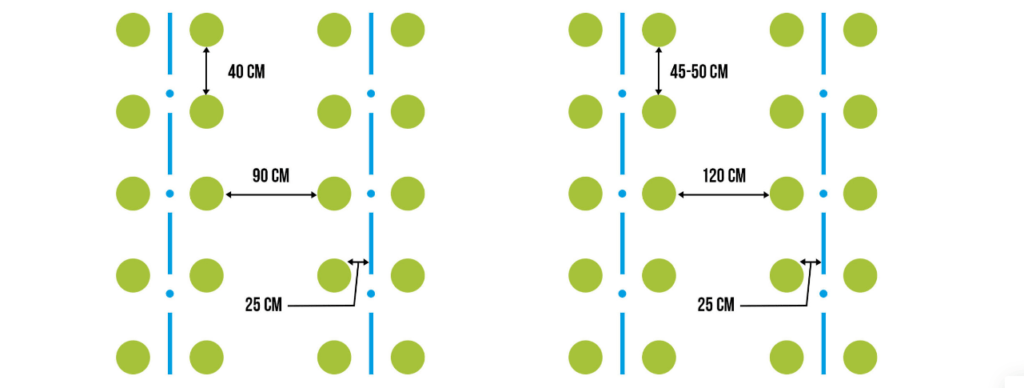
The ideal age for early cabbage seedlings is 35 days. Prepare moistened planting holes in the soil, and carefully transfer seedlings from cassettes, ensuring the root system remains intact. The optimal planting scheme is (90 + 50)*40 cm.
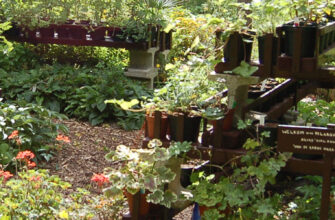
Organic Early Cabbage Cultivation
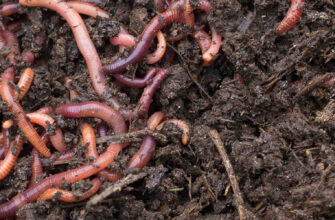
Organic cabbage cultivation produces an environmentally friendly harvest without synthetic fertilizers or pesticides, which is especially valuable for healthy eating and soil preservation. Key aspects include:
Soil Improvement:
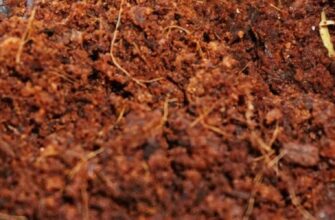
- Use compost (10–15 kg/m²) or well-rotted manure to enrich the soil with organic matter, applied in autumn or 2–3 weeks before transplanting.
- Sow green manure crops (mustard, lupine, phacelia) the season before cabbage to improve soil structure, enrich it with nitrogen, and suppress weeds.
Organic Fertilizers:
- For seedling feeding, use vermicompost (0.5–1 l/m²) or liquid organic fertilizers like nettle infusion or diluted poultry manure (1:10).
- During head formation, apply wood ash (200 g/m²) as a potassium source and for disease prevention.
Biological Protection:
- To prevent diseases (black leg, fusarium), treat soil and seedlings with biopesticides like Trichoderma (10 g/10 l water) or Fitosporin (5 ml/10 l water).
- Against pests (aphids, cabbage moths), use garlic infusion (200 g crushed garlic per 10 l water) or tobacco dust. Bioinsecticides like Bitoxibacillin (50–70 ml/10 l water) are also effective.
Mulching:
- Cover the soil with organic mulch (straw, mowed grass, sawdust) in a 5–7 cm layer to retain moisture, reduce weeds, and stabilize soil temperature.
Crop Rotation and Companion Planting:
- Follow crop rotation, avoiding areas used for other cruciferous crops. Plant dill, calendula, or marigolds near cabbage to repel pests.
Organic cultivation requires more attention to detail but yields a tasty, safe harvest while promoting soil fertility.
Care, Protection, and Harvesting
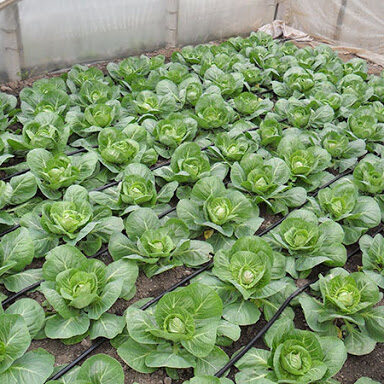
Caring for early cabbage is relatively simple. Regularly perform inter-row cultivation, remove weeds promptly, and loosen the soil to ensure proper air and moisture balance. Apply fertilizers (nitrogen in the first month, potassium, and phosphorus later) and water as needed. Avoid overheating plants and ensure sufficient light, using supplemental lighting if necessary.
Spring cabbage is typically harvested 55–65 days after planting, depending on the hybrid or variety. Harvest manually, leaving three outer leaves and a short stalk. Since early cabbage hybrids are not suited for long-term storage, they are consumed immediately or sold, packed in plastic bags or specialized containers.
Conclusion
These are the basic rules for achieving an early cabbage harvest. By carefully tending to seedlings and providing adequate fertilization, you’re likely to obtain abundant, attractive heads with a fresh taste and vibrant green color in the early spring months.
If you have found a spelling error, please, notify us by selecting that text and pressing Ctrl+Enter.

Live and learn forever